Shopify is a subscription service that allows you to create websites and online stores. One of its main selling points is that it offers a shopping cart solution that you can use to upload, manage, sell, and ship your products.
With this service, you can get access to an easy-to-use admin panel for a monthly subscription, through which you can enter your store information, add products, and process orders. There’s also a limited free trial that allows you to test out the features of the e-commerce service.
How to Set up Your Online Store with Shopify
If you’re interested in this idea, you’re in the right place. This guide will show you how to use Shopify to launch an online store in seven simple steps. On the other hand, if you are too busy to do this on your own, you can hire a Shopify Plus Expert for this purpose or can learn Shopify through this free Shopify tutorial.
To open a store on Shopify, you first need to sign up for an account.
- Creating a Shopify Account
Go to Shopify.com and use the signup form to make an account. Enter your email address and click the Start Free Trial button.
The one thing to keep in mind is that you must have a unique store name. If you don’t, Shopify will ask you to change it before continuing.
After this, Shopify will ask you for a few more details, such as your name, contact number, country, and address. The next question will be regarding your products — more specifically, what you plan on selling.
If you’re just trying the service out, you can select I’m just playing around, and respond to the question of what you’ll sell with I’m not sure.
At this point, click I’m done, and you’re ready to start setting up your shop.
- Setting Up Your Online Store
Once you’ve signed up, the site will direct you straight to the admin screen for your store. Here you can customize, upload products, and set up shipping and payments.
It’s all pretty self-explanatory, so we won’t waste your time by getting into too much detail about this section. Next, it’s time to choose the layout of your website.
- Choosing a Theme
Shopify has an official theme store featuring themes that are guaranteed to work with full support from the Shopify design agency. All themes include many modifications you can make without ever having to deal with code.
Premium landing templates offer more modifications, but a free one will do just fine for a start.
If you’ve got your heart set on making a change to a theme and the option is not there, you can do pretty much anything by accessing the HTML and CSS of each theme.
If you don’t have coding experience, you could always hire a web design company to customize your theme fully.
We recommend taking the following steps to find a theme that suits you:
- Browse the theme store — Visit themes.shopify.com to browse more than 70 themes available there, including a decent selection of free layouts.
- Check the reviews — When you find a theme that you like the look of, click on its sample image. Here, you’ll find more information about it, as well as the reviews from other people that have used it before.
- View the theme in action — To preview the theme, click the Preview Theme in your Store button, then View Demo.
- Install the theme — When you find a layout that works, click the green Preview button again, and Shopify will ask you to confirm you want to install the theme. Just click Publish as my Shop’s Theme, and you’re good to go.
If you’re not 100% sure that this is the right theme, don’t worry, you can always change your mind.
Once the theme has been installed, Shopify will offer to take you to your Theme Manager. This section shows all the themes you have ever installed on your page.
- Customizing Your Website’s Theme
As we mentioned earlier, most Shopify themes let you make simple changes. However, just because these changes are simple doesn’t mean they are small. You can make massive changes to how your store looks with just a few clicks, which means you’ll most likely end up with an original-looking design.
Select Themes from the navigation menu on your admin screen. This page will show your installed theme at the top, with two buttons in the top right corner.
The button showing three dots allows you to make some basic changes, including duplicating the current theme. We highly recommend doing this before making any significant changes.
The second button — Customize Theme — takes you to a page that controls your site’s basic functionality. This is the time to play around and test out all of your site’s features and capabilities. The most notable features include:
- Uploading slides to your homepage
- Uploading logos
- Choosing your color scheme
- Choosing your font
You’ll also be able to add items to product pages, choose how many items appear on each page or line, etc.
- Adding Products to the Store
Use the navigation menu we mentioned earlier to select Products, then Add a Product. In the following screen, you’ll be able to add details about your products. We recommend focusing on those that help with SEO — name, URL, and description.
Next, you’ll be able to upload your products’ pictures. You can rearrange them once they’re uploaded, so don’t worry about the order right now.
Make sure to post excellent images of your products, highlighting essential details with close-ups. Unless you think you can pull off a quirky design, we recommend keeping all your product images at the same dimensions.
Once you’re done, don’t forget to click the Save Product button. You can find these in the top and bottom right of the page.
- Going Live
Before you can get your shop up and running, you’ll need to fill in a few more details about your company, how you plan to pay taxes, order fulfillment, make deliveries, etc.
- Fill in your business information in the General section of the Settings.
- In the Shipping section, adjust your weight-based shipping rate to your products’ specifications.
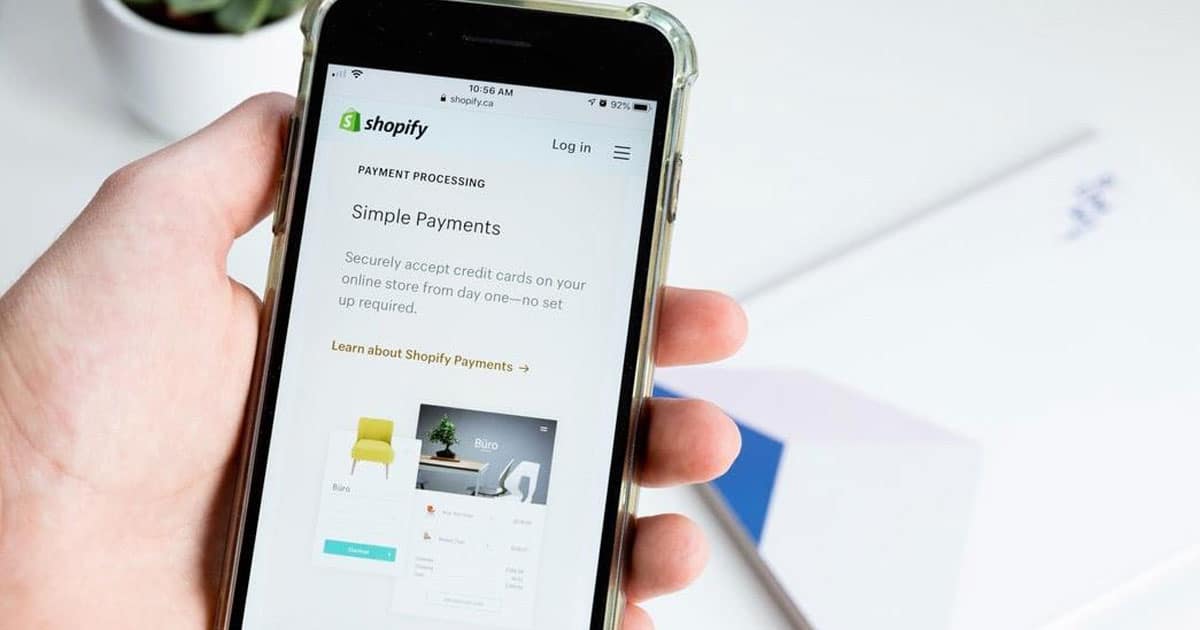
- Test your system using Shopify’s Bogus Gateway:
- Go to your Payments
- Deactivate your credit card gateway before continuing.
- Select Bogus Gateway in the Select Credit Card Gateway
- Click
At this point, you can go to your store and place a test order. Once you’ve made sure everything works, remember to reactivate your genuine credit card gateway.
You can also use a credit card to test the payment gateway. In this case, you need to make sure to cancel your order immediately after placing it to avoid paying transaction fees.
- Adding a Domain Name
To get your website online, you’ll need a domain name. The simplest way to do this, which also falls in line with our recommendation, is to buy a domain from Shopify. This saves time, especially if you’re not familiar with hosting a website. It allows you to get your desired domain name while someone else essentially does the heavy lifting.
A Shopify domain ranges from about $9 to about $15 per year. This is roughly the same as the cost of a third-party domain from a website like GoDaddy.